Quick Overview
- Enable 2D Sprite Support: Install the 2D Sprite package via Window > Package Manager.
- Download the Asset: Grab the free fire animation from Brullov on Itch.io.
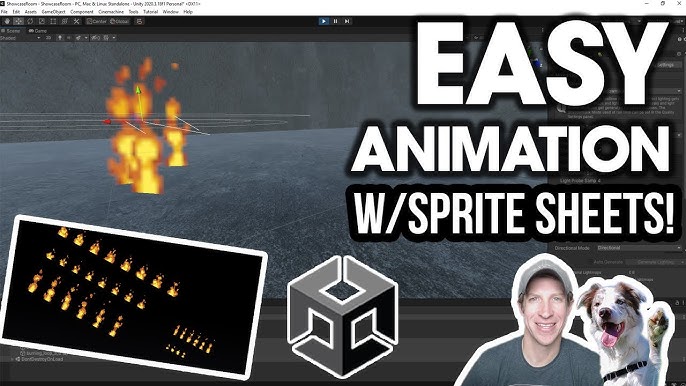
- Import & Configure: Drag the chosen sprite sheet (e.g.,
burning loop 3) into your project, set its Texture Type to Sprite (2D and UI), and switch Sprite Mode to Multiple. - Slice the Sheet: Open the Sprite Editor, choose Grid by Cell Count, enter
6for columns, then slice and apply. - Create the Animation: Drag all the sliced sprites into the scene; Unity will prompt you to save a new animation (e.g.,
fire_animation.anim). - Adjust & Test: Modify the animation speed via the Animator Controller and position/scale the object as needed.
In-Depth Step-by-Step Guide
1. Enable the 2D Sprite Package
Before working with sprite sheets, ensure Unity has the necessary tools:
- Navigate to Window > Package Manager.
- Select the Unity Registry tab.
- Find and install the 2D Sprite package if it’s not already installed.
2. Download the Fire Animation Asset
For this tutorial, we use a fire animation asset by Brullov, available for free on Itch.io. You can also support the developer by naming your own price.
After downloading, unzip the file and locate the orange color folder under Loops.
3. Importing and Configuring the Sprite Sheet
- Import: Drag the chosen sprite sheet (e.g.,
burning loop 3) into your project’s Materials folder. - Configure: With the sprite sheet selected:
- Set Texture Type to Sprite (2D and UI).
- Change Sprite Mode to Multiple.
- Click Apply in the Inspector.
4. Slicing the Sprite Sheet
To prepare your sprite sheet for animation:
- Click the Sprite Editor button (visible after configuring the sprite).
- If prompted, click OK to apply the settings.
- In the Sprite Editor, choose Slice > Grid by Cell Count.
- Enter the number of columns as
6(for our fire animation). - Click Slice and then Apply to finalize the cuts.
5. Creating the Animation
- Drag and Drop: Select all the sliced sprites and drag them into your scene.
- Save Animation: Unity will prompt you to create a new animation. Name the file (e.g.,
fire_animation.anim) and save it in your Animations folder. - Unity automatically creates a looping animation using the provided frames.
6. Adjusting Animation Properties
For fine-tuning:
- Open the Animator Controller linked with your new animation.
- Select the animation clip and adjust the Speed parameter as desired:
- Increase the speed value to animate faster.
- Decrease it for a slower, more dramatic effect.
- Test your changes by playing the animation in the scene.
7. Positioning and Testing in Your Scene
- Position: Move your animated object to the desired location in your scene (e.g., just above the ground).
- Scale: Adjust the Transform component if you need to scale the fire effect (a scaling factor of 3 is a good starting point).
- Camera Alignment: Align your camera to focus on the animation via GameObject > Align with View.
- Test: Hit the Play button to preview your animation in action.
Final Thoughts
This guide provides both a quick reference for experienced developers and a detailed walkthrough for those needing step-by-step instructions. By following these steps, you can efficiently create a looping fire animation from sprite sheets in Unity. Enjoy enhancing your game with dynamic effects, and feel free to experiment further with the animation settings to suit your project’s needs.
Happy animating!